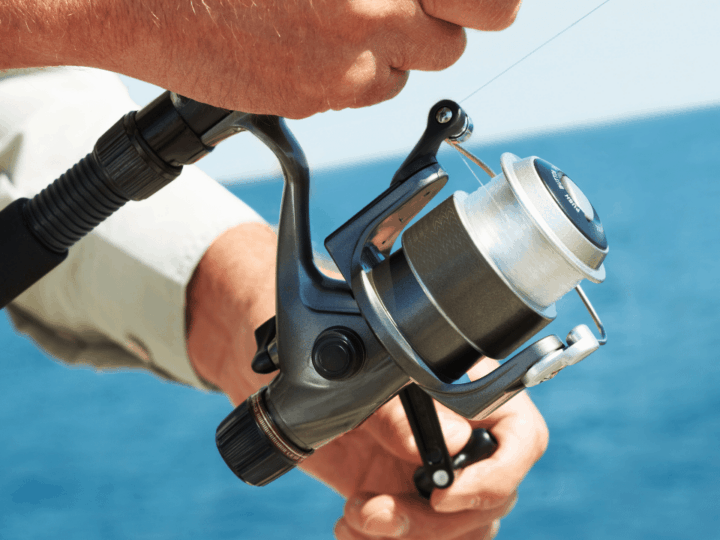
Among the many problems anglers face with their equipment–broken rods, twisted lines, snagging lures–perhaps the most serious is a damaged fishing reel.
As an angler, I find it tremendously comforting to know how to fix my damaged fishing reel. For one, fishing reels get damaged all the time (it’s more-or-less inevitable), and for another, it means I don’t throw my hands up in the air and think to myself, “Well, there goes another one.”
Repairing a damaged fishing reel is a finicky business, but it is not an insurmountable one. In this article, I will present you with a step-by-step guide, by the end of which you too will know how to fix a fishing reel.
Table of Contents
How to fix a fishing reel
Basic steps in fixing a damaged fishing reel. Don’t be alarmed or intimidated by this list. I explain each step fully in the article.
- Disassemble the reel
- Carefully (!) keep note of where each part belongs
- Inspect parts of the reel which tend to get worn out and replace them if necessary
- Apply lubricant (grease and light cleaner fluid) wherever appropriate
- Reassemble the reel
- Change the reel’s leader
Step-by-step guide to fixing a fishing reel
Before proceeding, please ensure that you have the following to hand:
- Clean Cloth
- Cotton Swabs
- Lubricants And Cleaners
- Screwdrivers
- Toothbrush
- Tweezers
- Water
- Wrenches
Begin the process of fixing your reel by washing it thoroughly with clean water. If you’ve been fishing in saltwater, this will help get rid of the salt. In any event, washing your reel gets rid of dirt or grime.
Disassemble the reel
Tip: if this is the first time you are disassembling the reel, please refer to the manufacturer’s manual before proceeding. This is because each reel is different, and I don’t want you to fall foul of any ‘gotchas’.
Use the screwdriver and wrenches to disassemble the reel.
Carefully (!) keep note of where each part belongs
Tip: when disassembling the reel, you’ll find that it is amazingly easy to forget which part comes from where, so methodically arrange all disassembled parts on the floor, or on a table, or a mat. Arrange all the pieces right-to-left in a straight line in the order in which you removed them from the reel. When you come to reassemble the reel, all you have to do is walk the line in reverse.
Screws are easily the finickiest parts of a reel and can cause major problems if you forget where each comes from. I recommend using masking tape to keep the little so-and-sos from getting jumbled up with the others.
The tiny screws stick to the masking tape and, relatively speaking, behave themselves.
Inspect parts of the reel which tend to get worn out and replace them if necessary
Plastic parts account for most fishing reel failures, especially pinion yokes, followed closely by brake shoes and the clutch cam. Inspect these elements closely for wear and tear. Replace them if they seem worn.
Sometimes, I replace these parts anyway if I haven’t disassembled the reel in a long time, say, over more than one season.
Pay particular attention to drag washers and the line guide. In many reels, these elements are sudden and catastrophic failure points, so I keep a stock of them because I never know when they’ll go kaput, and it is frustrating to have to go looking for them in shops or order them online.
I don’t worry too much about other reel components as they are made of metal and seldom cause any issues.
Apply lubricant (grease and light cleaner fluid) wherever appropriate
First, because you’ve washed the reel, dry all its parts thoroughly with the soft cloth (see list of things you’ll need to fix your reel above).
Next, avoid damaging the reel’s plastic and fiber components by using a soft, forgiving cleanser like a toothbrush, or a soft brush, or even just a cotton swab.
When everything is clean and dry, apply grease evenly to all parts except the bearings, for which you should use a light cleaner fluid. (After applying the cleaner to the bearings, spin them to ensure they’re clean and thoroughly lubricated.)
Tip: don’t put grease on the top teeth of gears, as it will fly off when you are operating the reel (duh). Greasing the bottom teeth also helps the lubricant better work its way more thoroughly into the machinery of the reel.
Tip: it is essential to avoid applying grease or lubricant to any wet component. The grease won’t ‘take’ properly, and all you’d be doing is storing up more palaver for yourself further down the line.
Tip: I don’t want to nanny you, but don’t get lubricants or oil into your eyes. Also, use these substances where there is plenty of ventilation.
Reassemble the reel
If you followed my advice and laid out the disassembled components in a straight line, then merely walk back up the line, this time from right to left.
You’ll find the tweezers useful for handling springs, wire clips, and some of the finickier parts, like tiny screws.
Change the reel’s leader
The final step after reassembling the reel is to change the fishing rod line. This video will help.
Once you have removed the old line from your reel and replaced it with a new one of similar length, pass the line through the eyes of the rod’s guides. Be careful to include all guides!
Open the bail, attach the new line, then close the bail back up. Spin the bail, but don’t overfill or underfill the spool. The ideal is to load the reel to be about a quarter of an inch from the rim.
Frequently Asking Questions About How to Fix A Fishing Reel
Are all fishing reels the same?
There are three types of reels (spinning reels, spin casting reels, and baitcasting reels), and each has different pros and cons.
How long should a fishing reel last before I need to replace it?
If you clean, lubricate and maintain your fishing reel properly, spinning and baitcasting reels could last you for decades.
Afterword
Fixing your fishing reel yourself means not spending your hard-earned cash on having the reel repaired in a shop. Furthermore, if you religiously clean and maintain your fishing reel, you won’t need to replace it for several years.*
*Caveat: spin casting reels rarely last longer than a single season.